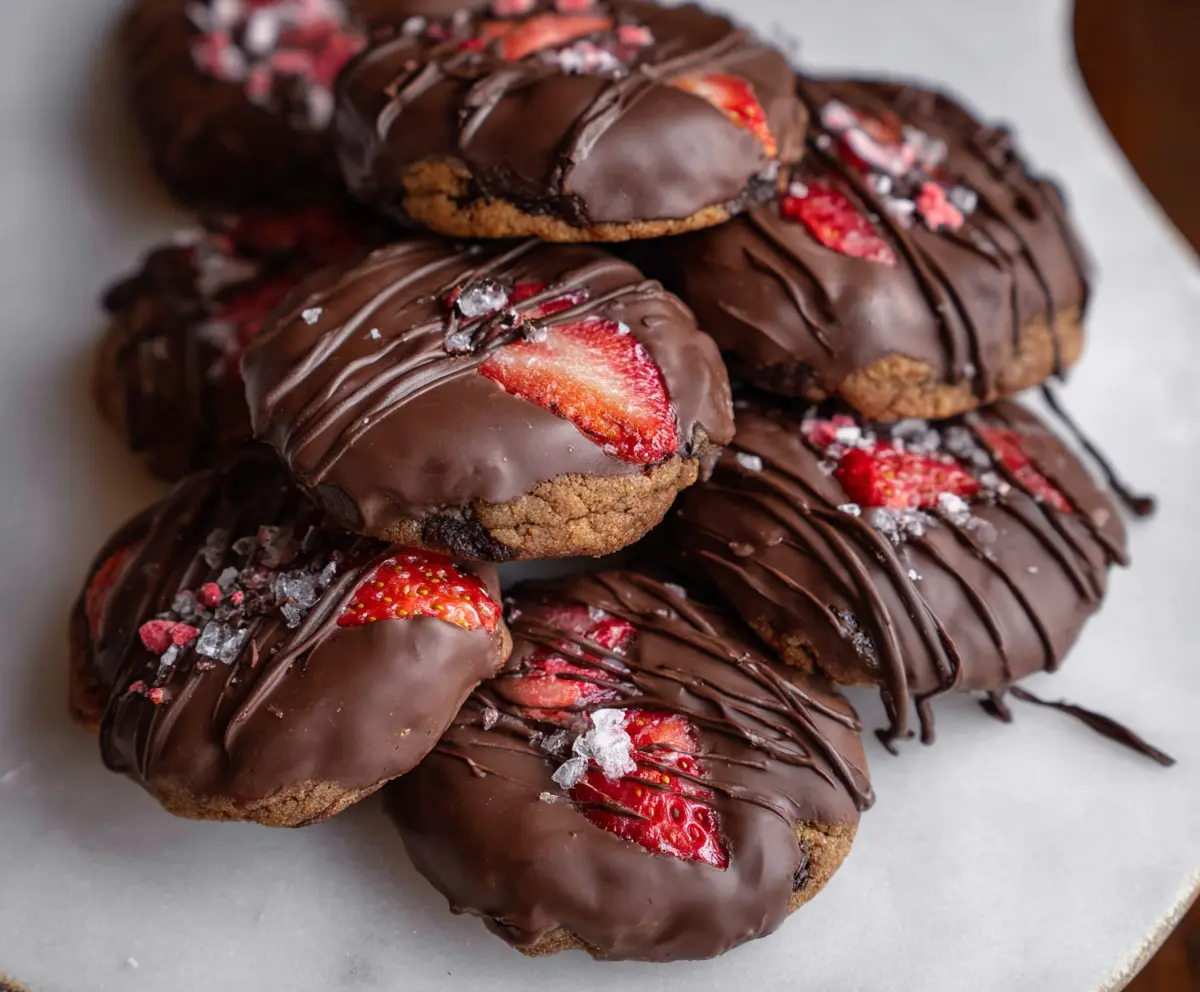
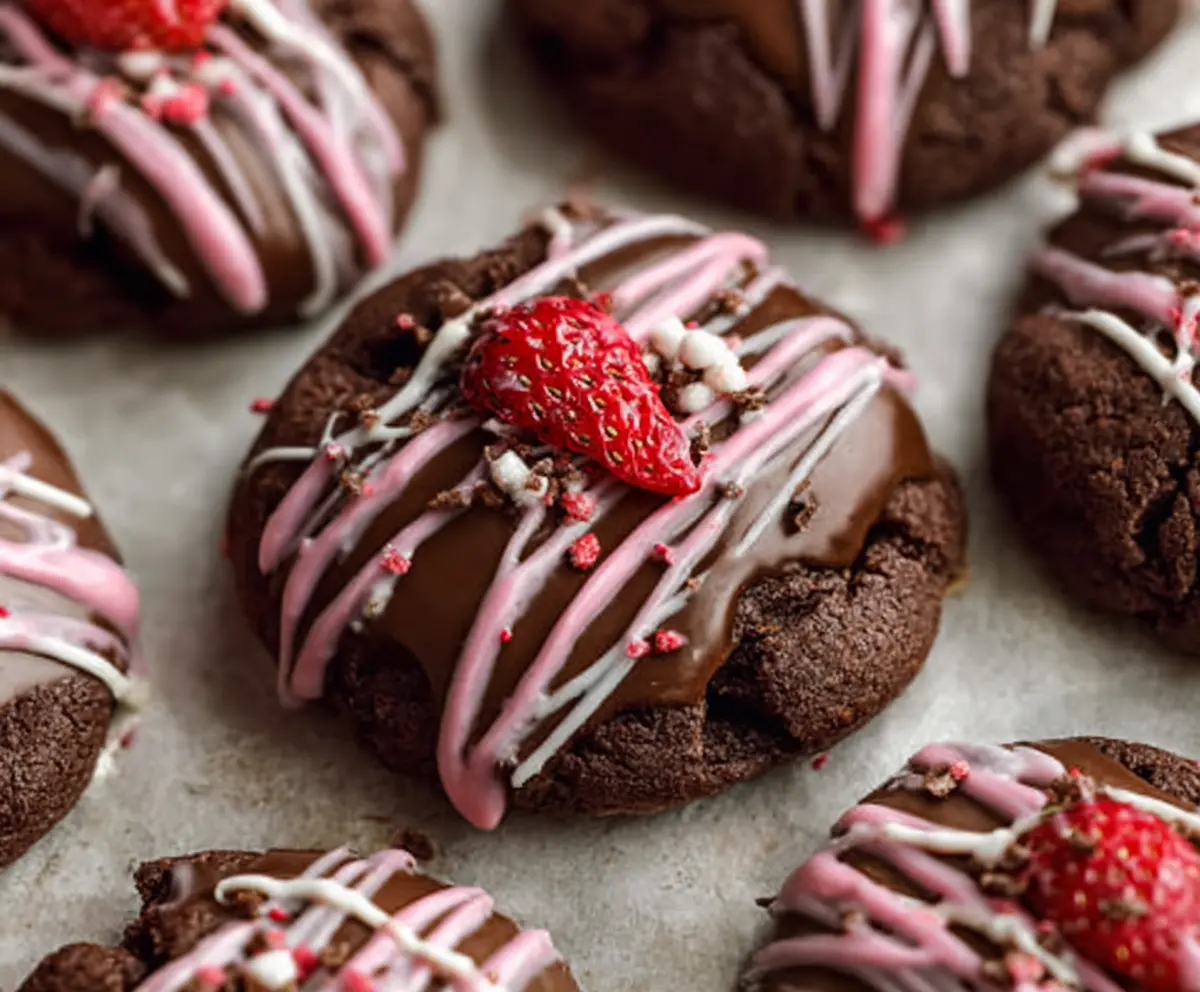
Chocolate Covered Strawberry Cookies are a sweet treat that brings together two favorite flavors in one bite. These cookies have a soft, tender texture with a hint of fruity strawberry mixed right in, all topped with a rich layer of smooth, melted chocolate. They look as delightful as they taste, with a perfect balance of fresh and chocolaty goodness.
I love making these cookies when I want to surprise my family or friends with something a little special but still simple. The strawberry bits add a juicy pop that makes each cookie feel fresh and bright, and the chocolate coating is always a crowd-pleaser. I find that chilling the dough before baking helps the cookies keep their shape and brings out the best strawberry flavor.
My favorite way to enjoy these cookies is with a cup of tea or a cold glass of milk—they’re perfect for a relaxed afternoon snack. Whether it’s for a holiday treat or just because, these cookies never fail to bring smiles. They remind me of warm, happy moments spent in the kitchen, sharing sweet bites and stories with loved ones.
Key Ingredients & Substitutions
Butter: Unsalted butter is best for controlling salt levels. You can swap it with margarine or coconut oil, but the texture may change slightly. I always use softened butter for smooth mixing.
Cocoa Powder: Unsweetened cocoa powder adds rich chocolate flavor. If you prefer a milder taste, try Dutch-process cocoa. Both work well but affect color and richness.
Freeze-Dried Strawberries: These give a concentrated strawberry taste without adding moisture. If unavailable, chopped dried strawberries can work but might soften the dough a bit.
Chocolate Chips/Chunks: Semi-sweet chips balance sweetness. For deeper flavor, use dark chocolate chunks. For a sweeter cookie, milk chocolate chips are a nice option.
Chocolate for Coating: Use good-quality dark or semi-sweet chocolate for the coating. Avoid compound melts as they don’t harden as nicely. I like dark chocolate for a slightly bitter contrast.
How Do You Get the Chocolate Coating Smooth and Shiny?
Melting chocolate for dipping can be tricky. Here’s how to get a nice, smooth coating:
- Use a microwave-safe bowl and melt chocolate in 30-second intervals, stirring well between each.
- Stop melting when most pieces are melted, then stir until fully smooth.
- If chocolate seizes, add a tiny bit of vegetable oil to loosen it.
- Dip the cookies quickly but gently to coat the top half; too long can melt the cookie or make it soggy.
- Place dipped cookies on parchment paper so chocolate cools evenly without sticking.
- For a shiny and firm finish, let the chocolate set at room temperature away from moisture or put in the fridge for 10-15 minutes.
Equipment You’ll Need
- Mixing bowls – I find these helpful for combining ingredients easily and keeping everything organized.
- Electric hand or stand mixer – makes creaming the butter and sugars much quicker and smoother.
- Measuring cups and spoons – for accurate ingredient measurements; essential for the best results.
- Cookie sheet lined with parchment paper – prevents sticking and makes cleanup easier.
- Cookie scoop or tablespoon – helps portion the dough evenly for uniform cookies.
- Microwave-safe bowl – for melting the chocolate smoothly without burning.
- Wire cooling rack – keeps cookies crisp on the bottom and cools evenly before dipping.
Flavor Variations & Add-Ins
- Use white or milk chocolate instead of semi-sweet for a sweeter, creamier finish.
- Add chopped nuts, like almonds or hazelnuts, for extra crunch and flavor.
- Mix in a teaspoon of peppermint extract with the dough for a mint-chocolate twist.
- Swirl in a little peanut butter or caramel in the melted chocolate coating for a richer topping.
Chocolate Covered Strawberry Cookies
Ingredients You’ll Need:
- 1 cup (2 sticks) unsalted butter, softened
- 3/4 cup granulated sugar
- 3/4 cup light brown sugar, packed
- 2 large eggs
- 1 teaspoon vanilla extract
- 2 1/4 cups all-purpose flour
- 1/2 cup unsweetened cocoa powder
- 1 teaspoon baking soda
- 1/2 teaspoon salt
- 1 cup semi-sweet chocolate chips or chunks
- 1 cup freeze-dried strawberry pieces
- 8 oz dark chocolate or semi-sweet chocolate, for coating
- Coarse sea salt, for sprinkling on top (optional)
How Much Time Will You Need?
This recipe takes about 15 minutes to prepare, 10-12 minutes to bake, plus 15-20 minutes to cool and set the chocolate coating. Overall, plan for around 45 minutes from start to finish, including chilling time for the chocolate if you like.
Step-by-Step Instructions:
1. Prepare the Oven and Baking Sheets:
Preheat your oven to 350ºF (175ºC). Line two baking sheets with parchment paper to prevent sticking and for easy cleanup.
2. Make the Cookie Dough:
In a large bowl, cream together the softened butter, granulated sugar, and brown sugar until the mixture becomes light and fluffy. Then beat the eggs in one at a time, mixing well after each addition. Stir in the vanilla extract.
3. Mix Dry Ingredients:
In another bowl, whisk together the all-purpose flour, unsweetened cocoa powder, baking soda, and salt.
4. Combine Wet and Dry Ingredients:
Gradually add the dry ingredients to the wet mixture, stirring until just combined. Be careful not to overmix, so your cookies stay tender.
5. Add Chocolate Chips and Strawberries:
Gently fold in the semi-sweet chocolate chips and freeze-dried strawberry pieces to the dough, spreading them evenly throughout.
6. Shape and Bake Cookies:
Using a tablespoon or cookie scoop, drop rounded balls of dough onto the prepared baking sheets. Leave about 2 inches of space between each to allow spreading. Bake them for 10-12 minutes, or until the cookies look set but still soft in the center.
7. Cool the Cookies:
Remove from the oven and let the cookies cool on the baking sheet for 5 minutes. Then transfer them to a wire rack to cool completely before adding the chocolate coating.
8. Melt Chocolate for Coating:
Melt the 8 oz of dark or semi-sweet chocolate in a microwave-safe bowl. Heat in 30-second intervals, stirring well between each until smooth and melted.
9. Dip and Decorate:
Dip the top half of each cooled cookie into the melted chocolate. Place the dipped cookies back on parchment paper and press a fresh strawberry slice on top of the chocolate coating for a beautiful, fresh look.
10. Add Extra Chocolate and Salt (Optional):
Drizzle any remaining melted chocolate over the cookie tops for a pretty design. For a delightful salty contrast, sprinkle a tiny pinch of coarse sea salt on the chocolate while it’s still wet.
11. Let the Chocolate Set:
Allow the cookies to rest until the chocolate hardens. To speed this up, pop the cookies in the fridge for 10-15 minutes.
12. Serve and Enjoy!
Your chocolate covered strawberry cookies are ready to delight! Enjoy them with a cold glass of milk or your favorite tea.
Can I Use Fresh Strawberries Instead of Freeze-Dried?
Fresh strawberries add too much moisture to the dough and can make the cookies soggy. Freeze-dried strawberries are best because they keep the flavor without affecting texture.
How Do I Store These Cookies?
Store cookies in an airtight container at room temperature for up to 3 days. For longer storage, keep them in the fridge for up to a week or freeze them in an airtight container for up to 3 months.
Can I Substitute the Butter?
You can use margarine or coconut oil in place of butter, but it may slightly change the texture and flavor. For best results, stick with softened unsalted butter.
What’s the Best Way to Melt Chocolate for Coating?
Use a microwave-safe bowl and melt the chocolate in 30-second bursts, stirring in between to avoid burning. If the chocolate thickens, add a small amount of vegetable oil to smooth it out.