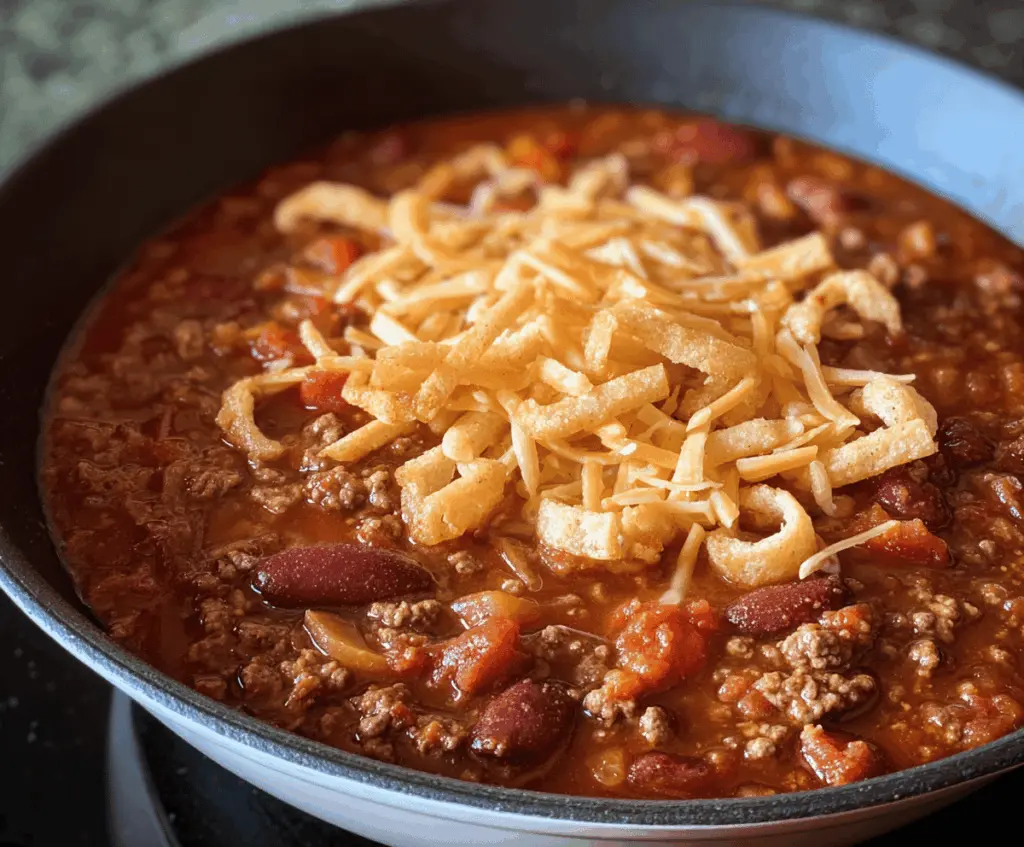
Hillbilly Chili is a hearty, no-frills dish packed with bold flavors and simple ingredients that come together for the ultimate comfort meal. It’s full of tender ground meat, beans, and a mix of spices that give it a nice kick without being too overpowering. This chili has a rustic feel that reminds you of cozy nights around a campfire or at home after a long day outdoors.
I love making this chili because it’s so easy to throw together, and it always warms everyone up. I often add a little extra chili powder or hot sauce to make it just right for my taste, but it’s perfect as is if you’re looking for classic, comforting chili. Something about the slow bubbling of the pot fills the kitchen with a smell that makes everyone gather around the stove, which is one of my favorite parts of cooking this dish.
My favorite way to serve Hillbilly Chili is with some hearty cornbread on the side and a big sprinkle of shredded cheese and chopped onions on top. It’s the kind of meal that sticks with you and fills you up in the best way. Whether it’s a casual family dinner or a weekend get-together, this chili always feels like home on a plate.
Key Ingredients & Substitutions
Ground beef: This is the star of your chili, giving it a rich and meaty base. If you want a leaner or different protein, try ground turkey or plant-based crumbles for a vegetarian twist.
Kidney beans: These add texture and heartiness. If you don’t have kidney beans, black beans or pinto beans work just as well.
Chili powder: This spice blend gives the chili its classic flavor. If you want less heat or can’t find chili powder, use paprika mixed with a pinch of cumin as a mild alternative.
Smoked paprika: Adds a subtle smoky aroma that makes the chili more interesting. If you’re out, regular paprika or a tiny bit of chipotle powder works nicely.
Fried onion strings: These crispy toppings are my favorite crunch addition. You can swap them with crushed tortilla chips or even crispy fried shallots for a different texture.
How Do You Get the Best Flavor and Texture in Hillbilly Chili?
Building flavor is all about layering and patient cooking. Here’s how I do it:
- Brown the ground beef well — this adds deep flavor. Don’t rush or stir too much at first so nice brown bits form in the pan.
- Sauté onions and garlic until soft and fragrant before adding spices. This releases their natural sweetness.
- Toast the spices briefly in the pot with the meat and veggies to boost their aroma.
- Simmer gently so flavors blend. The low and slow cook helps beans soften and chili thicken.
- If the chili feels too thick, add more beef broth. If too thin, remove the lid near the end to reduce liquid.
- Top with fresh cheese and crunchy onions right before serving to add texture contrast.
Taking these small steps really elevates your chili from simple to memorable!

Equipment You’ll Need
- Large heavy-bottomed pot or Dutch oven – I prefer this because it heats evenly and can handle a big batch of chili.
- Wooden spoon or spatula – great for stirring and scraping the bottom so nothing sticks or burns.
- Measuring spoons and cup – to keep spices and liquids just right.
- Knife and cutting board – for chopping onions and garlic easily.
- Can opener – for opening the beans and tomatoes.
- Serving bowls and toppings – for dishing out and garnishing your chili.
Flavor Variations & Add-Ins
- Swap ground beef for ground turkey or sausage to change up the flavor and fat content.
- Add chopped cooked bacon or ham for extra smoky flavor and richness.
- Mix in diced peppers—green, red, or jalapeños—for extra spice and color.
- Kick up the heat with hot sauce or cayenne pepper if you like it spicy.
- Stir in corn kernels or grated cheese during the last few minutes for extra creaminess and sweetness.
How to Make Hillbilly Chili
Ingredients You’ll Need:
- 1 lb ground beef
- 1 small onion, finely chopped
- 2 cloves garlic, minced
- 1 (14.5 oz) can diced tomatoes
- 1 (15 oz) can kidney beans, drained and rinsed
- 1 (8 oz) can tomato sauce
- 1 cup beef broth or water
- 1 tbsp chili powder
- 1 tsp ground cumin
- 1/2 tsp smoked paprika
- 1/2 tsp salt (or to taste)
- 1/4 tsp black pepper
- Optional: 1/4 tsp cayenne pepper or hot sauce for heat
- 1-2 tbsp cooking oil
- Toppings:
- Shredded cheddar cheese
- Fried onion strings or crispy onion straws
Time Needed:
This Hillbilly Chili takes about 10 minutes to prepare and 30-45 minutes to simmer, giving you a total cook time of around 40-55 minutes to get those deep, delicious flavors.
Step-by-Step Instructions:
1. Brown the Meat and Cook Aromatics:
Heat a large pot or deep skillet over medium-high heat and add the cooking oil. Add the ground beef and cook it, breaking it apart with a spoon, until it’s browned and no longer pink, about 6-8 minutes. Next, add the finely chopped onion and minced garlic to the pot. Cook for 3-4 minutes until the onion softens and the garlic smells amazing.
2. Add the Spices:
Stir in the chili powder, ground cumin, smoked paprika, salt, black pepper, and cayenne pepper or hot sauce if you want some heat. Cook everything together for about one minute to let the spices wake up and flavor the meat and onions.
3. Combine the Rest of the Ingredients:
Pour in the diced tomatoes (with their juices), tomato sauce, drained kidney beans, and beef broth or water. Stir everything together so it’s well mixed.
4. Simmer the Chili:
Bring the chili to a gentle simmer. Reduce the heat to low and cover partially with a lid. Let it cook slowly for 30 to 45 minutes, stirring once in a while. This simmering helps all the flavors blend beautifully and the chili to thicken.
5. Taste and Serve:
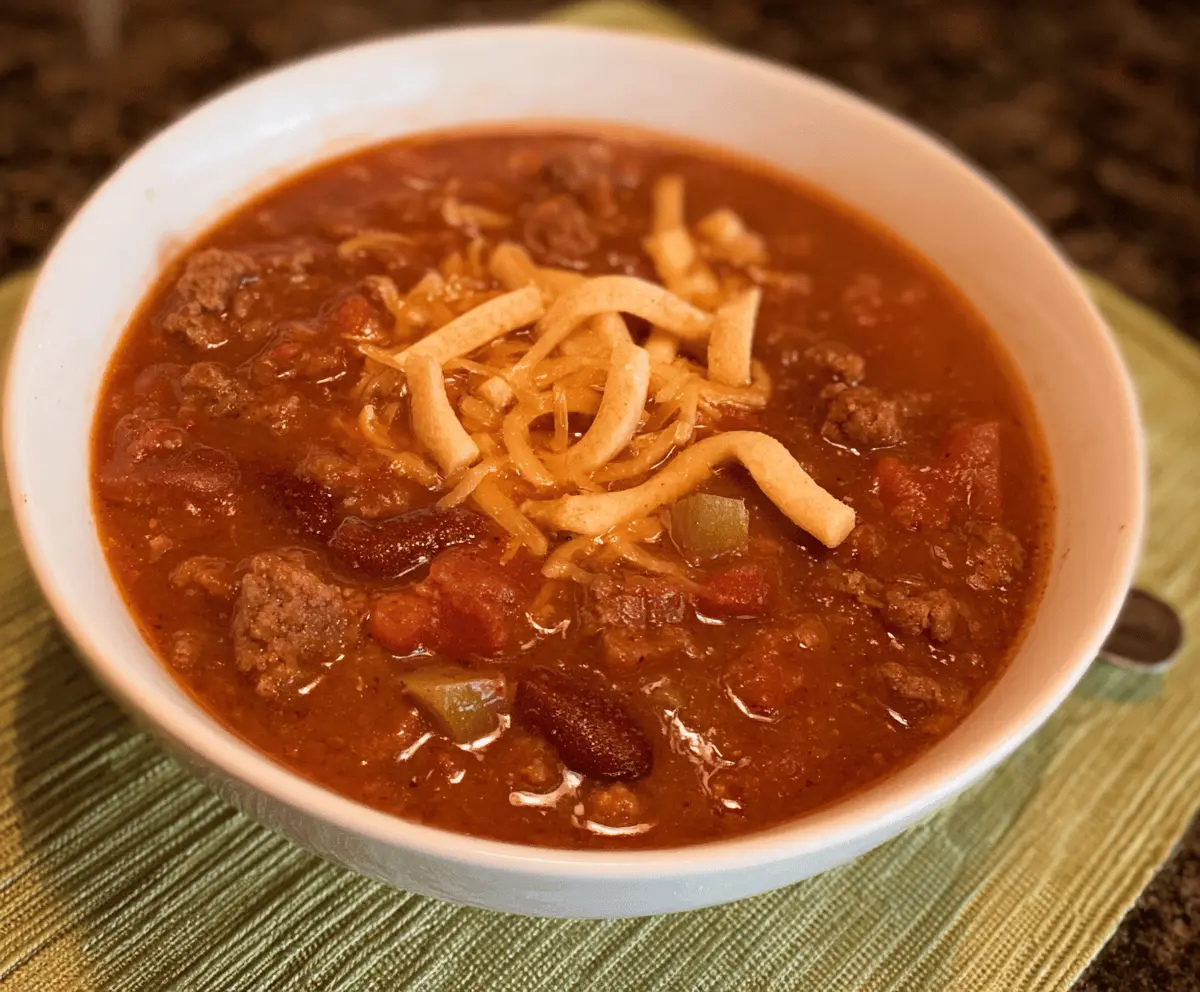
Taste the chili and adjust the seasoning if needed—add more salt or spice if you like. Serve it hot in bowls and top each serving with shredded cheddar cheese and crispy fried onion strings for that classic Hillbilly crunch.
This chili is warm, hearty, and full of flavor, perfect for cozy meals with family or friends. Enjoy every comforting bite!
Can I Use Frozen Ground Beef for Hillbilly Chili?
Yes, you can! Just make sure to thaw it completely in the fridge overnight or use the defrost setting on your microwave. Pat it dry before cooking to prevent extra moisture in the chili.
Can I Make Hillbilly Chili Ahead of Time?
Absolutely! Chili tastes even better the next day as the flavors meld. Prepare it fully, cool, and store in an airtight container in the fridge for up to 3 days. Reheat gently on the stove or in the microwave before serving.
How Should I Store Leftover Chili?
Store leftovers in a sealed container in the fridge for 3-4 days. For longer storage, freeze the chili in freezer-safe containers for up to 3 months. Thaw overnight in the fridge before reheating.
What Can I Use Instead of Fried Onion Strings?
If you don’t have fried onion strings, crispy tortilla strips, crushed corn chips, or even toasted breadcrumbs add a nice crunchy topping to your chili. Fresh chopped green onions also work well for a fresh bite.